
I’ve been a wildlife photographer for years, and I can’t tell you how many times I’ve seen incredible sightings of wild animals driving through the national and private game reserves. There’s so much beauty out there if you take the time to look for it. Mother Nature is always working her magic in front of us.
That doesn’t mean that your photos will be perfect every time (they won’t), but practising with these tips will help ensure that when you finally get that perfect shot.
It’ll be worth all the work.
Table of Contents
- Table of Contents
- Understand Your Animal
- Location, Location, Location
- Observation is Key to Learning Patterns and Understanding the Behaviour of Animals
- Preparing Your Equipment for The Perfect Shot
- In Conclusion
Understand Your Animal
The first step to photographing wildlife is understanding the animal you’re trying to capture. You can’t expect to capture a great shot of an animal if you don’t know its habits and behaviours, so you must research before getting out there. The more time you spend learning about the animal, the better your chances of getting that perfect photo.
- Study their environment: If an area isn’t suitable for an animal’s habitat (e.g. too cold), they won’t be there!
- Learn to recognise animals in the wild: Always make a conscious effort to visualise and memorise the animals you see in the wild so that you may become familiar with them. Initial recognition of an animal’s unique traits is the first step toward understanding its habits.
- Get to Know Their Habits: There are many details to consider when photographing wildlife, but the most essential is knowing when and where to find the animal you wish to photograph. Knowing the habits of the animals will help inform you when and where you should see them to get the kind of shot that suits your needs.
For your photographs to be successful, it helps to understand what the animals in your photos feed on, where they spend most of their time (hibernation spots, breeding grounds), and how they behave in different situations and times of the day.
Learning to identify individual species by sight or sound would be best.

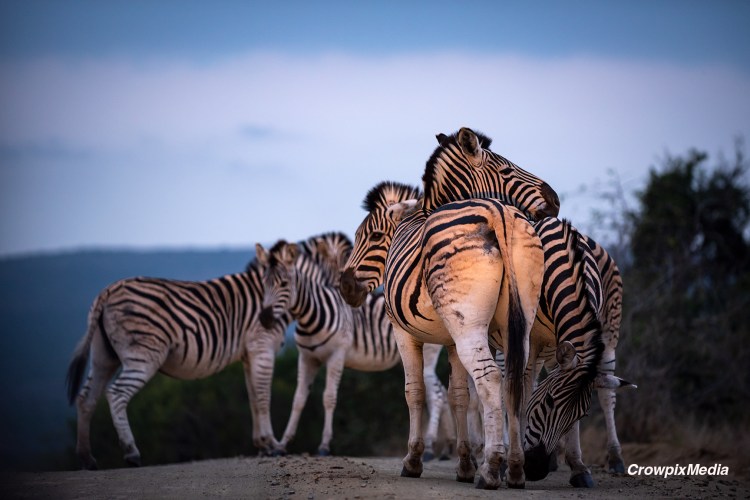
Knowing the animal species will allow you to be aware of any potential risks before approaching them. Some animals, such as lions, elephants, or hippos, are more likely to attack humans. It’s also helpful if the species shows distinct markings that help differentiate between individuals, like stripes on fur, animal tracks, and the differences in animal horns, for example.
Location, Location, Location
Location is the first thing to consider when getting the best wildlife shots. The best locations have a lot of wildlife but aren’t too crowded with other photographers or tourists. You want an environment where you can take your time and set up your shot without feeling rushed or bothered by others.
Another element to look for in a location is lighting—not just any kind of light, but good lighting. Many photographers use flashlights when taking photos at night (or very early in the morning), but this isn’t always ideal for getting the most natural colouration out of your subject matter.
Ideally, finding a place with plenty of ambient light is better, so it doesn’t look unnatural. Good wildlife photography isn’t always about getting a perfect shot. Often, it’s about finding the correct location.

A good location can be where you know wildlife will pass through or where you can wait for an animal to come to you. For example, most animals need water, especially during or after a hot day, so staying in a hide near water is the perfect means to get the photo without being noticed. Lakes, dams, or watering holes with established hides are often excellent spots for photographers looking for wildlife shots.
Another important factor when choosing where to shoot is whether or not there are any distracting backgrounds behind what you’re photographing. Something like waterfalls would be great if they weren’t so close that they made any movement behind them fuzzy. Look for clean and simple backgrounds that don’t distract from the subject of your photo.
The earth’s natural greens and browns may complement or potentially distract from the subject. Consider the background details when composing your shot or choosing a location.
Observation is Key to Learning Patterns and Understanding the Behaviour of Animals
The most effective way to learn the patterns and behaviours of wildlife is by observing them in their natural habitat. The more you observe, the better you’ll be able to predict what an animal is doing at any given time. Knowing an animal’s behaviour lets you anticipate its next move, helping make your shot even more exciting and compelling.
To get as many great shots as possible during your photography session, you must observe your subject from a distance without spooking or scaring it away. It’s also vital not to disrupt its natural habitat or disturb other animals nearby (if there are any).
Preparing Your Equipment for The Perfect Shot
As discussed, the first step to achieving the perfect wildlife photo is to know your subject. Let’s look at factors other than location and understanding your animal, such as basic technical gear requirements for wildlife photography.
What photo equipment do I need?
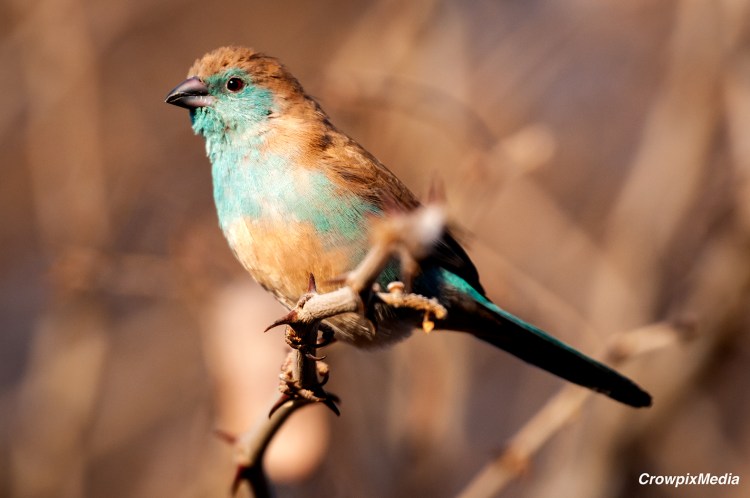
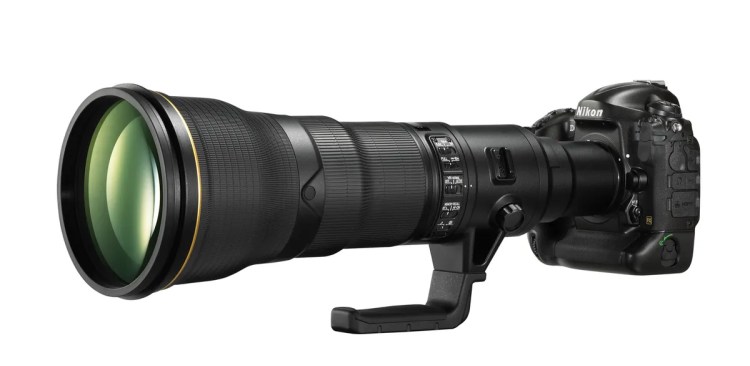
- The longer your focal length, the better. However, if you’re shooting from a distance requiring a telephoto lens or zoom range, ensure you can get close enough for a good shot without scaring off your subject. If not, bring an extension tube to increase magnification capabilities and get closer to your subject. Consider photos of birds often seen in the trees or small in size. In both these cases, a longer-range lens will be more suitable.
- A 70-200mm lens usually provides close-range options. Wider or medium lenses are also necessary, especially when the animal is close to your position, such as passing alongside your vehicle. In this instance, a fixed zoom will not help. Always remember your and the animal’s safety when getting close.
- Wildlife photographers often use an extra camera body that you can use if your primary one fails—many photographers prefer shooting with two bodies instead of just one so they can switch out cameras if needed—or keeping a few different lenses on hand at all times.
- A tripod or monopod will enable more stability when using large telephoto or zoom lenses, but it may be awkward to use inside a vehicle. Consider using a bean bag or other long lens support columns and apparatus that allow better control of your camera and lens.
You can’t always predict what will happen, so you should always have backup equipment and a plan B or C if anything goes awry, like the weather. Remember that unpleasant weather can often make for dramatic images, but could just as well ruin your photography day out. It also means planning and being ready when something goes wrong.
If your subject has trouble moving around because there are too many people nearby or it’s too windy, instead of trying to change the situation with sheer willpower (which never works), move on until conditions improve; then, come back later when everything has calmed down and try again.
The most important thing is not giving up!
In Conclusion
Wild animals are unpredictable, but knowing what to expect will prepare you for anything. The most important thing is to get close and personal with your subject (without harming yourself or nature). You can’t always expect the best shot in the world, but it will help you better spot patterns and understand behaviour.
Approach every new encounter with an open mind and a willingness to learn, and slowly but surely, you will move closer to that perfect wildlife image.
Copyright@Crowpixmedia. All Rights Reserved 2026.

6 thoughts on “Wow Your Audience With Near-Perfect Wildlife Photos in a Few Easy Steps”