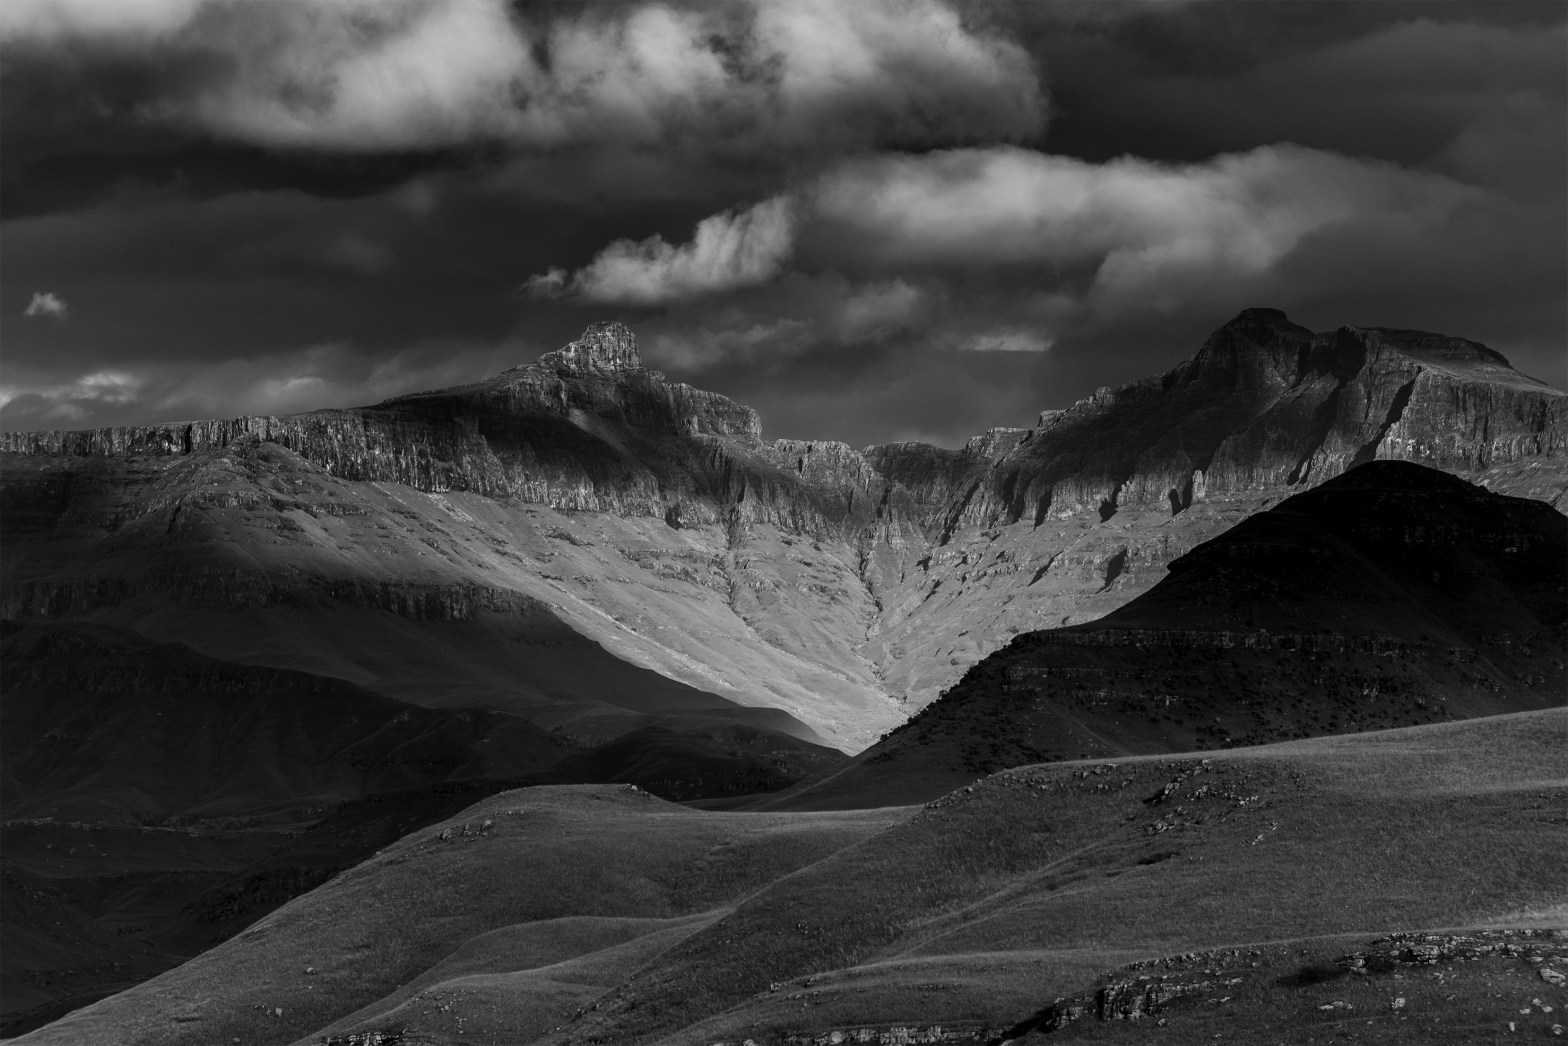
Love or hate them, tripods are essential to your landscape photography gear. As landscape photographers, we want to create pin-sharp images from the front to the back of our compositions. A tripod is a critical element that promotes end-to-end sharpness. The question then becomes how can a landscape photographer make the most of a tripod?
Table of Contents
- Straighten Your Shot With Levels
- Keep Your Hands Off The Tripod
- Use a Lens Column For Your Long Lenses
- Weigh The Tripod Down
- Leave The Centre Column of The Tripod Down
- In Conclusion
Straighten Your Shot With Levels
Straightening your shot after shooting can be annoying and waste time in post-production. It is a good idea to level your tripod when taking a photo. This will save you the repetitiveness of levelling the horizon later on.
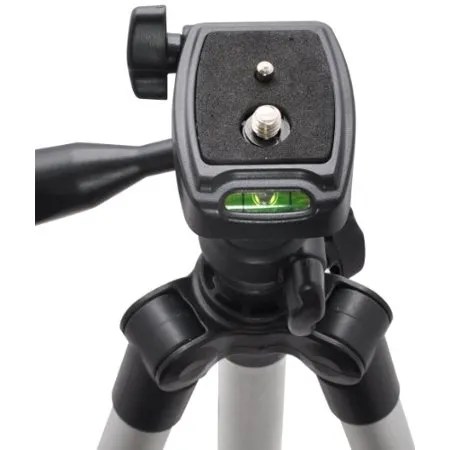
Consider the balance of the tripod itself. The tripod should be steady to produce a clear and sharp image. Checking all the spirit levels on the tripod will help ensure balance and stability.
Keep Your Hands Off The Tripod
Holding onto the tripod will result in camera shake or blurry images. A slight vibration from your body onto the tripod could result in an unwanted loss of image sharpness. If a strong wind blows or a gust hits, only then should you get a grip on your gear.
Otherwise, keep your hands off the tripod for ultimate stability, especially when shooting at slow shutter speeds.
Use a Lens Column For Your Long Lenses
Many photographers attach the tripod plate to the camera when shooting with a telephoto-type lens. This is nonsensical.
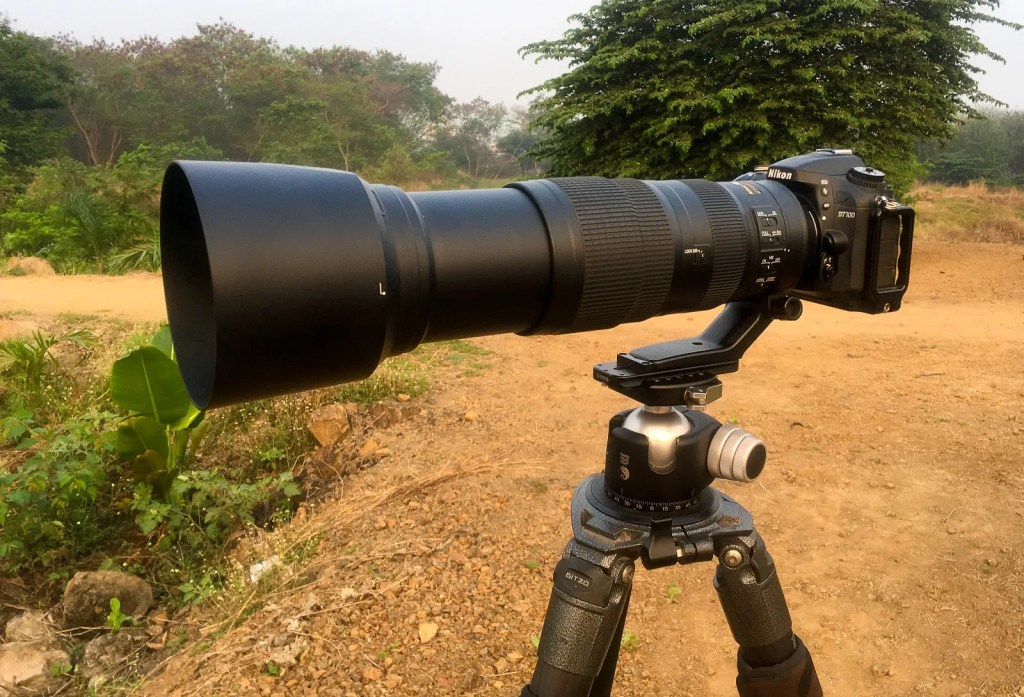
Instead, attach the tripod plate to the lens using a lens column. A lens column will balance the tripod/camera setup and improve your shot’s stability.
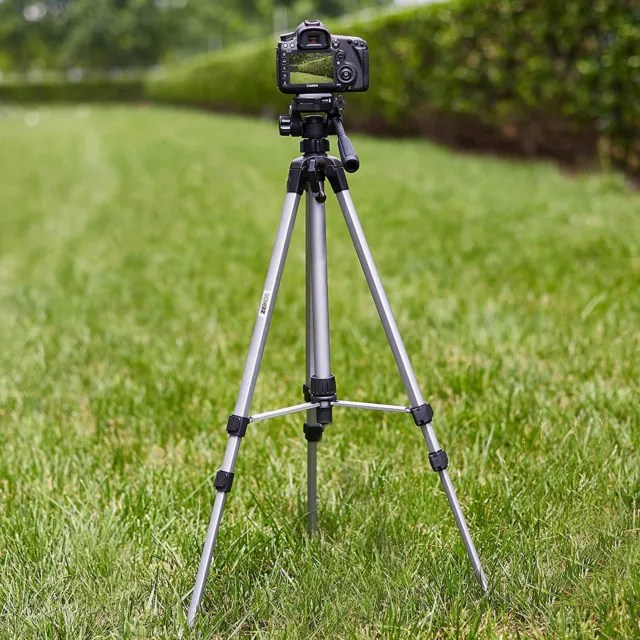
Weigh The Tripod Down
Again, having a stable, well-balanced tripod is essential when shooting landscapes. Use a bungee cable connecting the bottom of your tripod centre column to a weight placed on the ground. For example, the weighted item could be a sandbag or your photo bag.
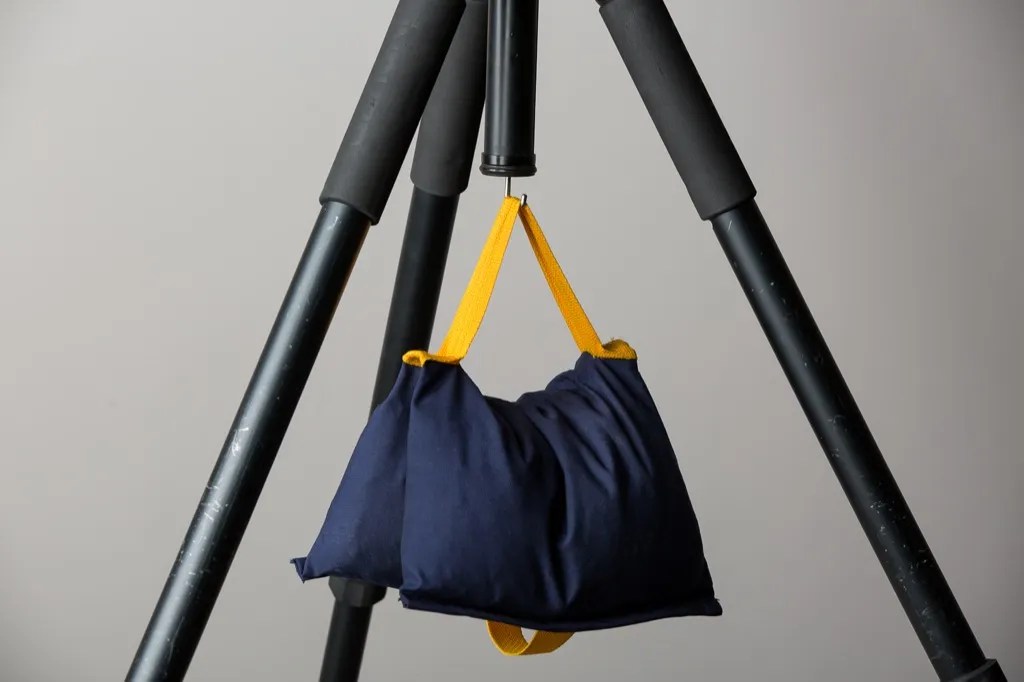
The weight will help stabilize the tripod by pulling it towards the ground. This will also be useful when shooting in inclement weather.
Leave The Centre Column of The Tripod Down
As I have mentioned throughout this post, a tripod is about the balance and stability of your camera and lens combination. Extending the centre column of a tripod does not assist with balance or strength.
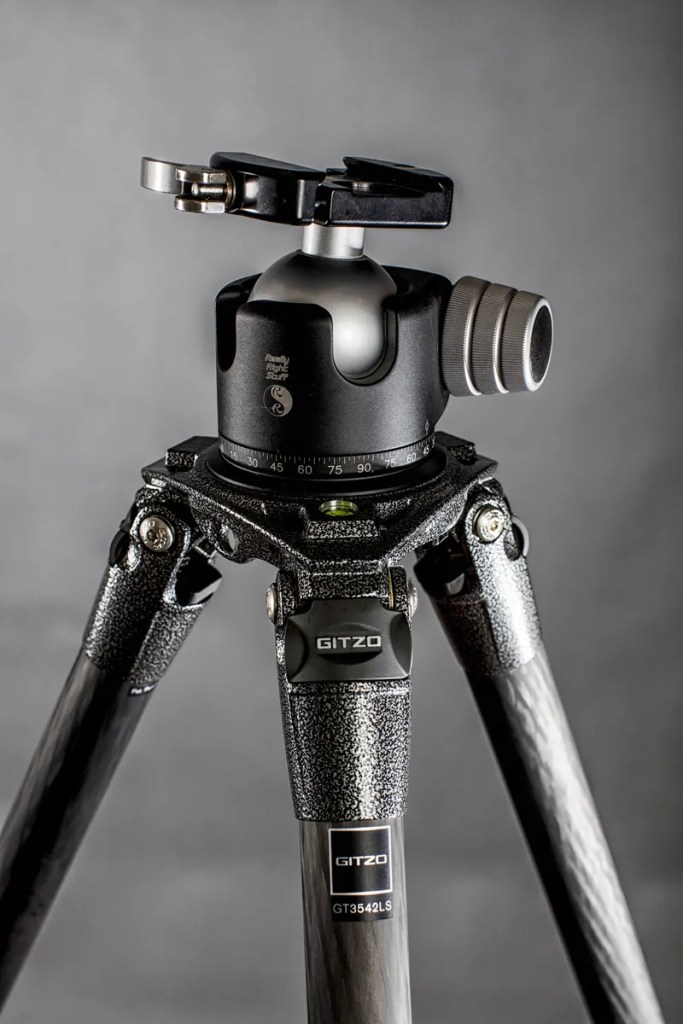
Instead, extend the tripod height from the more stable legs of the tripod.
In Conclusion
I use a tripod most of the time when photographing landscapes and would recommend it to any landscape photographer. Carrying a tripod can become a trade-off between cumbersome gear and photographic efficiency. Tripods allow for more creativity through balance and stability.
You may not always need a tripod when photographing landscapes, but you will be glad to have one when necessary.
Copyright@Crowpixmedia. All Rights Reserved 2026.

One thought on “5 Easy And Guaranteed Ways to Improve Your Landscape Photography With a Tripod”